0 to App Store in 60 days
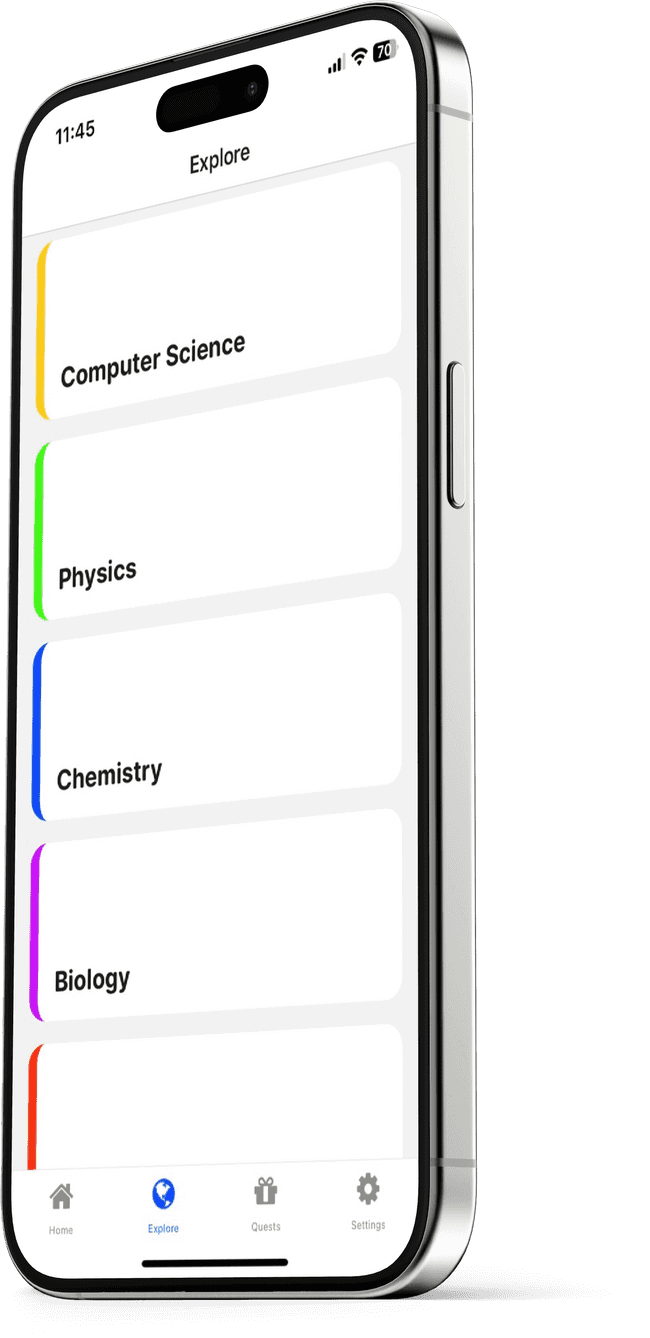
February 29, 2024I just shipped my first app to the App Store in years! It was a much different experience this time - it took only 60 days from start to finish. Here's how I did it.

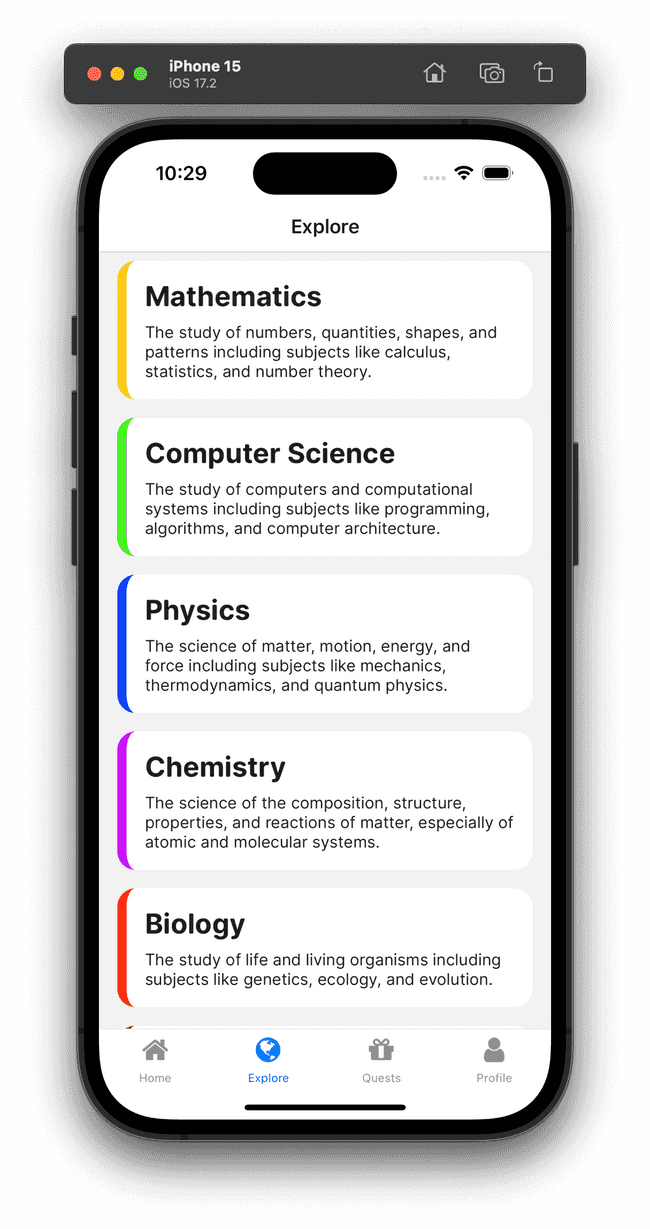
Want to check it out? Download the app or check out the cross-platform web app - the same codebase!
Rubber Ducking
Last year, I started Grok which later became RubberDuck. The idea was to use a gamified app to teach software engineers, generating the curriculum with an LLM. In November, I wanted to learn about some math and used what I had built to generate a course for it. I realized that RubberDuck could be used to learn anything! I tested the idea with a few friends and they loved it. I decided to pivot and released the web app in December.
The web app was great, and started gaining traction. But I wanted to reach a wider audience, and have access to push notifications. I started building the mobile app on New Year's Day.
React Native
React Native was a natural fit, because I could reuse most of the glue code from the web app, a React/Next.js app. This saved a ton of time and allowed me to focus on the mobile specific features.
It wasn't all roses, though. The original codebase had <div>s everywhere, so it wasn't a simple copy-paste job. I had to copy over functionality one piece at a time, and replace the web-specific code with mobile-specific code.
Expo
I wouldn't have been able to ship so quickly without Expo.
Expo Go is so clever. Basically, a generic app runs on the device, and interprets your JavaScript bundle, rendering native components. This is great for prototyping, but eventually custom functionality requires a development build. I ended up going the dev build route in the first week. With both of these options, I don't think I've had to touch a single button in Xcode.
With EAS Update, I can ship an update to the JavaScript bundle without going
through the App Store review process. I literally just run eas update. This is
great for fixing bugs and adding small features. One gotcha I found though is
that the update is not immediate for the user. It could take a couple launches
of the app before the new bundle is updated on the device. So I still go through
the build process for milestones, in addition to the EAS Update process.
I use EAS Build to submit to the App Store. There's no building or certificate
jugggling on my end - they take care of everything. Anytime I want to submit a
new build, I just run eas build -p ios --auto-submit and it's done. I can't
believe how easy it is. When I get an email that the build has been submitted to
Apple, I go in and manually submit it for review.
(Tamagui + Solito) vs Expo Router
I originally setup the app with Tamagui, a React Native UI library. Specifically, tamagui-starter-free, which uses Next.js + Solito for a web app in addition to native mobile apps. I love the concepts behind them and it was great for getting started, but I found it was too opinionated coming from my existing web app, making it difficult to reuse components.
Around this time, Expo released
Expo 50 which included Expo
Router v3. V3 includes file-based routing like Next.js. Along with
userInterfaceStyle, I didn't need Tamagui or Solito anymore. I effectively
restarted the repo at this point with the managed Expo workflow, and it was a
great decision because it accelerated development. Using the raw StyleSheet
from React Native was much simpler than adopting a new UI library.
Reanimated
Some components turned out to be even better than the web app. For example, my
ProgressBar component uses
Reanimated
for smooth animations. The springy nature of it is so much more fun than the
simple CSS transition I was using on the web app.
const currentProgress = useSharedValue(0);

useEffect(() => {
  const value = Math.min(Math.max(progress, 1), 100);
  currentProgress.value = withSpring(value, {
    damping: 32,
  });
}, [progress]);

const progressStyle = useAnimatedStyle(() => ({
  width: `${currentProgress.value}%`,
}));

return (
  <View style={[styles.container, style]}>
    <Animated.View style={[styles.progress, progressStyle]}></Animated.View>
  </View>
);
Markdown and Katex
The most interesting techinical challenge I faced was getting Markdown and Katex to work together. One of the best features of RubberDuck is the ability to learn math and code with rich text. I wanted to keep this feature in the mobile app.
I tried a couple native-rendered Markdown libraries for React Native, but they either didn't work with Katex or didn't work for me at all. I ended up building out a clever solution with WebViews!
I know WebViews are disliked in the React Native community, but bear with me...
The Expo WebView docs pointed me toward react-native-webview, a replacement for the built-in WebView which was removed from React Native core.
On a very simple level, I have a Markdown component that takes a source
prop. Using that Markdown, I dynamically render out an HTML document with
marked and katex modules, and then pass that HTML to the WebView. This
allows me to render rich text with math and code blocks.
On web, I just render the same document into an iframe. However, both the
WebView and iframe need a static size. A chicken and egg situation arises
because the content can render differently based on the size!
I ended up using postMessage to communicate the size of the content from the
WebView to the parent component. This way, the parent component can resize the
WebView to fit the content.
If it works, it isn't stupid! With this, I can render rich text in arbitrary places in the app on all platforms!
useEffect(() => {
  if (!iframeRef.current) return;
  const callback = (event: any) => {
    if (event.data.id !== id.current) return;
    setSize([event.data.width, event.data.height]);
  };
  window.addEventListener('message', callback, false);
}, [iframeRef]);

return (
  <View
    style={{
      width: size?.[0],
      height: size?.[1],
    }}
  >
    {Platform.OS === 'web' ? (
      <iframe
        ref={iframeRef}
        srcDoc={source}
        scrolling="no"
        width={size?.[0]}
        height={size?.[1]}
        style={{
          border: 0,
          pointerEvents: 'none',
        }}
      />
    ) : (
      <WebView
        source={{
          html: source,
        }}
        width={size?.[0]}
        height={size?.[1]}
        style={{
          // flex: 1,
          backgroundColor: 'transparent',
          pointerEvents: 'none',
        }}
        onMessage={(event: any) => {
          const data = JSON.parse(event.nativeEvent.data);
          if (data.id !== id.current) return;
          setSize([data.width, data.height]);
        }}
      />
    )}
  </View>
);
And inside the WebView:
window.onload = () => {
  marked.use(markedKatex({throwOnError: false}));
  const root = document.getElementById('root');
  root.innerHTML = marked.parse(root.innerHTML);

  const size = root.getBoundingClientRect();
  const message = {
    id: '${id}',
    width: Math.ceil(size.width),
    height: Math.ceil(size.height),
  };

  if (window.ReactNativeWebView) {
    window.ReactNativeWebView.postMessage(JSON.stringify(message));
  } else {
    window.parent.postMessage(message, '*');
  }
};
Submitting to the App Store
I was actually mostly done with the app by the end of January. I spent the next few weeks testing and fixing bugs, and had a bunch of people help me test via TestFlight.
When I was ready to submit, I ended up having to go through a few rounds of rejections. The most relevant here is that Apple asked for the ability to browse content without logging in, which I totally agreed with.
I avoided for a bit, because I was dreading the refactor. I had built the app with the assumption that the user was logged in. Thanks to Expo Router and the way I had structured the app, it was actually a pretty simple refactor.
Expo Router lets you nest unlimited _layout components with its file-based
routing. I had structured the app similarly to this:
app/
  _layout.tsx
  (logged-in)/
    _layout.tsx
    index.tsx
    secret/
      index.tsx
  (logged-out)/
    _layout.tsx
    index.tsx
I had the logic for checking if the user was logged in or not in the _layout
of (logged-in). I ended up changing the structure to something even simpler:
app/
  _layout.tsx
  home/
    index.tsx
    secret/
      _layout.tsx
      index.tsx
Now I check the user's session directly in secret/_layout:
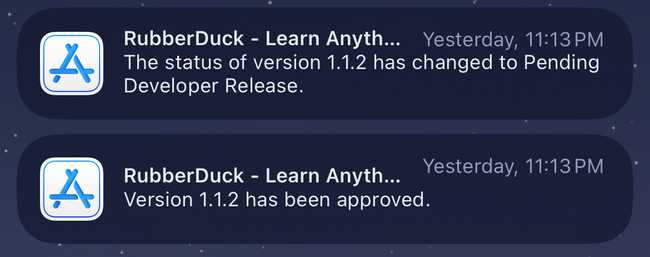
if (!session.user) return <Redirect href="/explore" />;It was easy enough to copy that line to a few files, and I was able to submit a new build to Apple the same day. When I woke up, I got a push that the app was approved!
Cross Platform
The web app and mobile app share the same codebase. It's worth a short note
about the web app. Inside the app directory, I have a vercel.json file with
a build command:
"buildCommand": "expo export -p web",I have Vercel hooked up to this repo, and all I have to do is push. It's that easy.
The only gotcha I've ran into so far is that marginHorizontal works
differently on web and mobile. I replaced that with marginRight and
marginLeft and it was good to go.
In the future, I'd like to get EAS Update and EAS Build commands hooked up to a CI, but I don't mind the manual process for now.
Thanks
Thanks to everyone who helped me test the app, and to the Expo team for making it so easy to ship a mobile app. I'm excited to see where RubberDuck goes from here!
Download RubberDuck or check out the cross-platform web app and let me know what you think!